*** Part 3: Putting it together ***
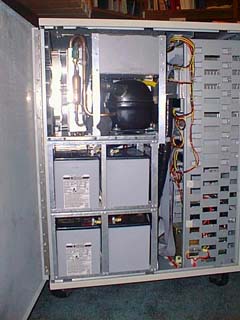
Now that all the parts are together and the system testing complete, it's time to move to the computer and install everything. I am using a California PC Super Server case and have installed a SmartUPS 1400 internally with 4 33ah batteries. The 1st Stage Cooling system is mounted above the battery rack.
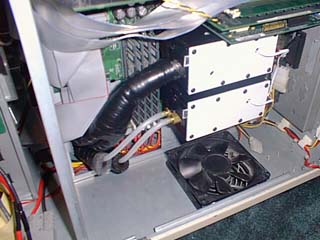
Plumbing was simple but due to the space constraints, insulating the line was a little more involved. Since the coolant is -25C, condensation is a big concern so insulating everything was a priority.
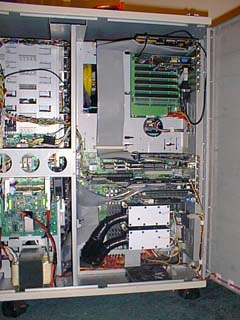
The true test, a working computer. Everything was turned on and the power supply to the peltiers was set at 12v. Before I had the login screen for WinNT4.0 the processors had dropped to -4C. Within two minutes I was at -28C. This was getting exciting. I loaded 3D f/x and started rendering a 2min animation (1.23Gig file) which takes about 2hrs 3min. The system continued to drop until I had reached -43.1C (measured from the center of the thermal plate). Once I finished the rendering, after about 15 minutes the processors were at -58.3C and -59.7C. I set the power supply to 9.7V to maintain a temperature of -35C.
Back to Home Page